Getting Started
If you want to use this extension, you need to add the io.quarkiverse.docling:quarkus-docling extension first to your build file.
Installation
<dependency>
    <groupId>io.quarkiverse.docling</groupId>
    <artifactId>quarkus-docling</artifactId>
    <version>1.4.0</version>
</dependency>dependencies {
implementation 'io.quarkiverse.docling:quarkus-docling:1.4.0'
}Usage
This is still a work in process. Currently, you simply inject the ai.docling.serve.api.DoclingServeApi client and use its methods:
@Inject
DoclingServeApi doclingServeApi;
There’s also a service class you can inject that simplifies the API a bit that can be used for simple use cases, although its recommended to use the DoclingServeApi directly:
@Inject
DoclingService doclingService;
Additionally, if you want Quarkus-specific features (i.e. async with Uni, etc), you can use the io.quarkiverse.docling.runtime.client.QuarkusDoclingServeClient bean:
@Inject
QuarkusDoclingServeClient quarkusDoclingServeClient;
Dev Services
The Docling dev service provides a Docling Serve Container for you automatically during dev mode and testing. See the configuration options for available configuration properties.
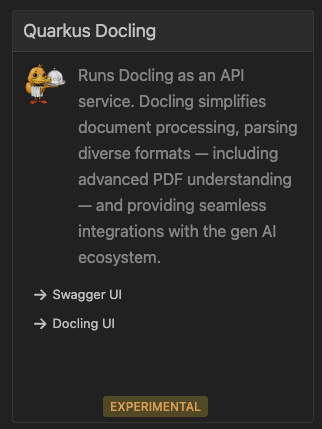
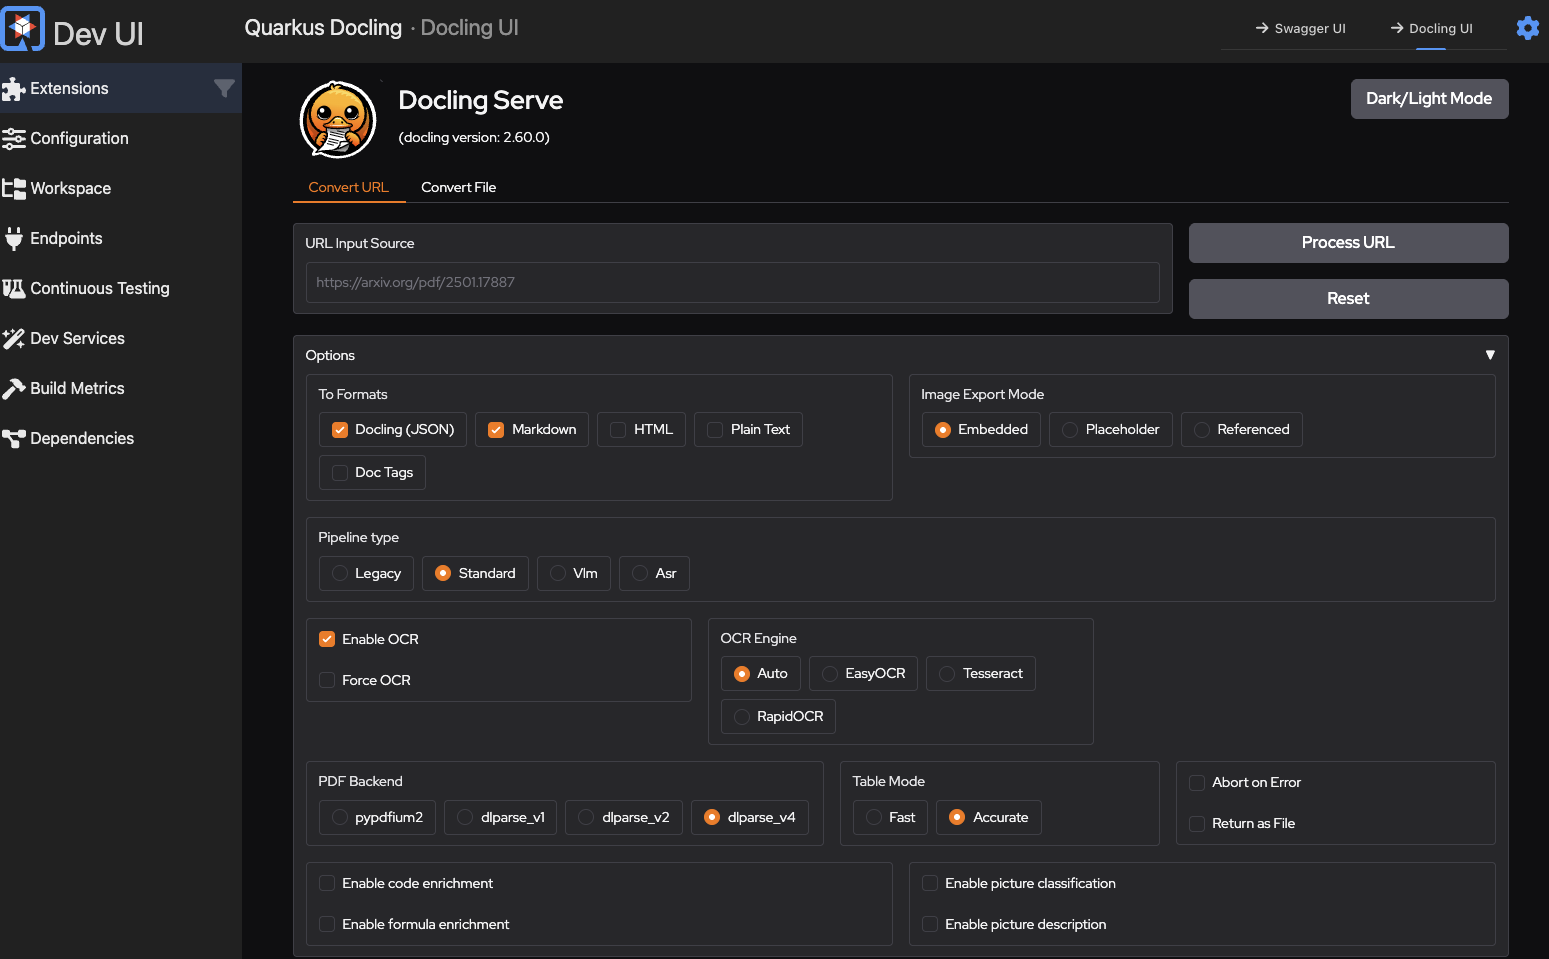
Dev UI
The Quarkus Docling extension provides a card in the Dev UI: